Valentine’s cookies

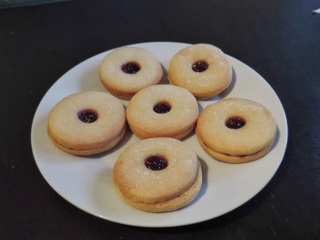
Valentine’s Day may have passed but don’t wait until next February to tell your loved ones how you feel – show them with cute cookies!

IMG_1506

I used this basic cookie recipe and then you can add whatever extras you want – chocolate chips, nuts, spices.

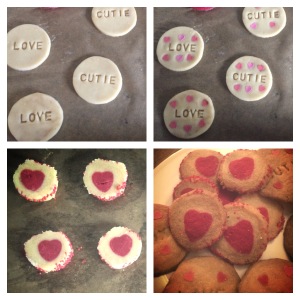
To make the cookies with hearts in the middle I followed the method for these Slice n’ Bake Valentine Heart Cookies. Colour some of the cookie dough and then make the hearts with a heart shaped cutter. Stack the hearts as neatly as possible on top of each other and then cover this tower of hearts with the normal coloured cookie dough. (At this point I added some extra decoration by rolling the cookie dough log in red sprinkles.) Then wrap the cookie dough log in cling film and put it in the fridge to harden a bit which will make it easier to slice!
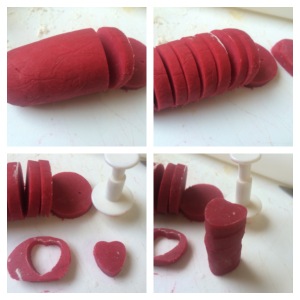
IMG_1500Once it’s hardened, slice the log into cookies and pop them in the oven!

With leftover dough I made cookies with some cute Valentine’s messages on them and decorated with little hearts. A bit cheesy but hey, they were for some very special girls …

IMG_1505

Nutella jar cake

10513303_10100365899842814_1781829428032926964_n

My friend Anna loves Nutella. And by love I mean a crazy, can’t keep it in the house or she’ll finish the jar in one go, kind of love. As soon as I decided to make her a birthday cake, it was obvious what I would do. I decided that it couldn’t just be a generic chocolate cake – real nutella needed to be involved.

The idea behind it was that she needed to be able to open the jar and eat nutella out of it. So the lid was a chocolate rice krispie cake covered in white fondant icing. As it was solid, she could take it off the cake (ie open the jar) and then the first centimetre of cake was filled with Nutella which the birthday girl ate with a chocolate spoon that I had made.

Here’s an overview of what I did:

I stacked four chocolate cakes …

SAMSUNG CAMERA PICTURES

… and then carved it into the shape of the nutella jar. (Sorry, I didn’t take a photo of the carved cake but you can get the idea from the finished product!

For the lid, I made a chocolate rice krispie cake which I later covered in fondant icing.

Chocolate rice krispie cake


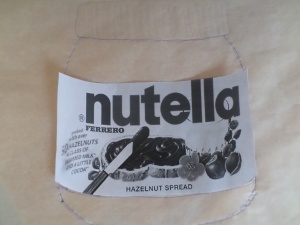
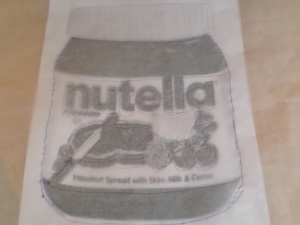
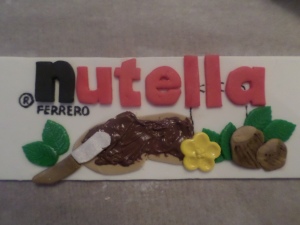
Then came the tricky bit … the label. I printed out the label and used tracing paper to break the label down into individual elements – the letters, the leaves, the piece of toast and the knife (with real nutella), the flower, the hazelnuts, etc. By breaking the label down, it makes the label much more simple as you can see below. The whole thing was made with fondant icing and an edible black pen.

SAMSUNG CAMERA PICTURES Tracing SAMSUNG CAMERA PICTURES

Once I carved the cake, covered it in chocolate buttercream and attached the label, I cut a centimetre out of the top of the cake and filled it with nutella.

SAMSUNG CAMERA PICTURES SAMSUNG CAMERA PICTURES

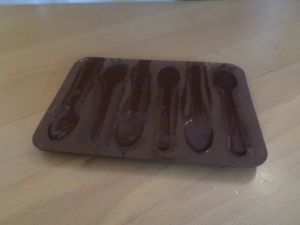
As a novelty addition, I made chocolate spoons. The idea was that the birthday girl could use one to eat the nutella from the cake. In practice, this probably wasn’t the smartest idea I’ve had as the party was pretty warm and heat + a chocolate spoon = a total mess.

Chocolate spoons

If you like the look of these chocolate spoons, you can buy the silicone mould from Lakeland. It’s really easy to use and the result was great (in cooler climates…)!

SAMSUNG CAMERA PICTURESSAMSUNG CAMERA PICTURES SAMSUNG CAMERA PICTURES


Whisky sour cupcakes

“The Americans are a funny lot; they drink whiskey to keep them warm; then they put some ice in it to keep it cool; they put some sugar in it to make it sweet; and then they put a slice of lemon in it to make it sour. Then they say “here’s to you” and drink it themselves.” – B. N. Chakravaty

Continue reading